



-
No. Our DIY kits are designed for toolbox owners who want to install their own protection—even if you've never installed PPF before.
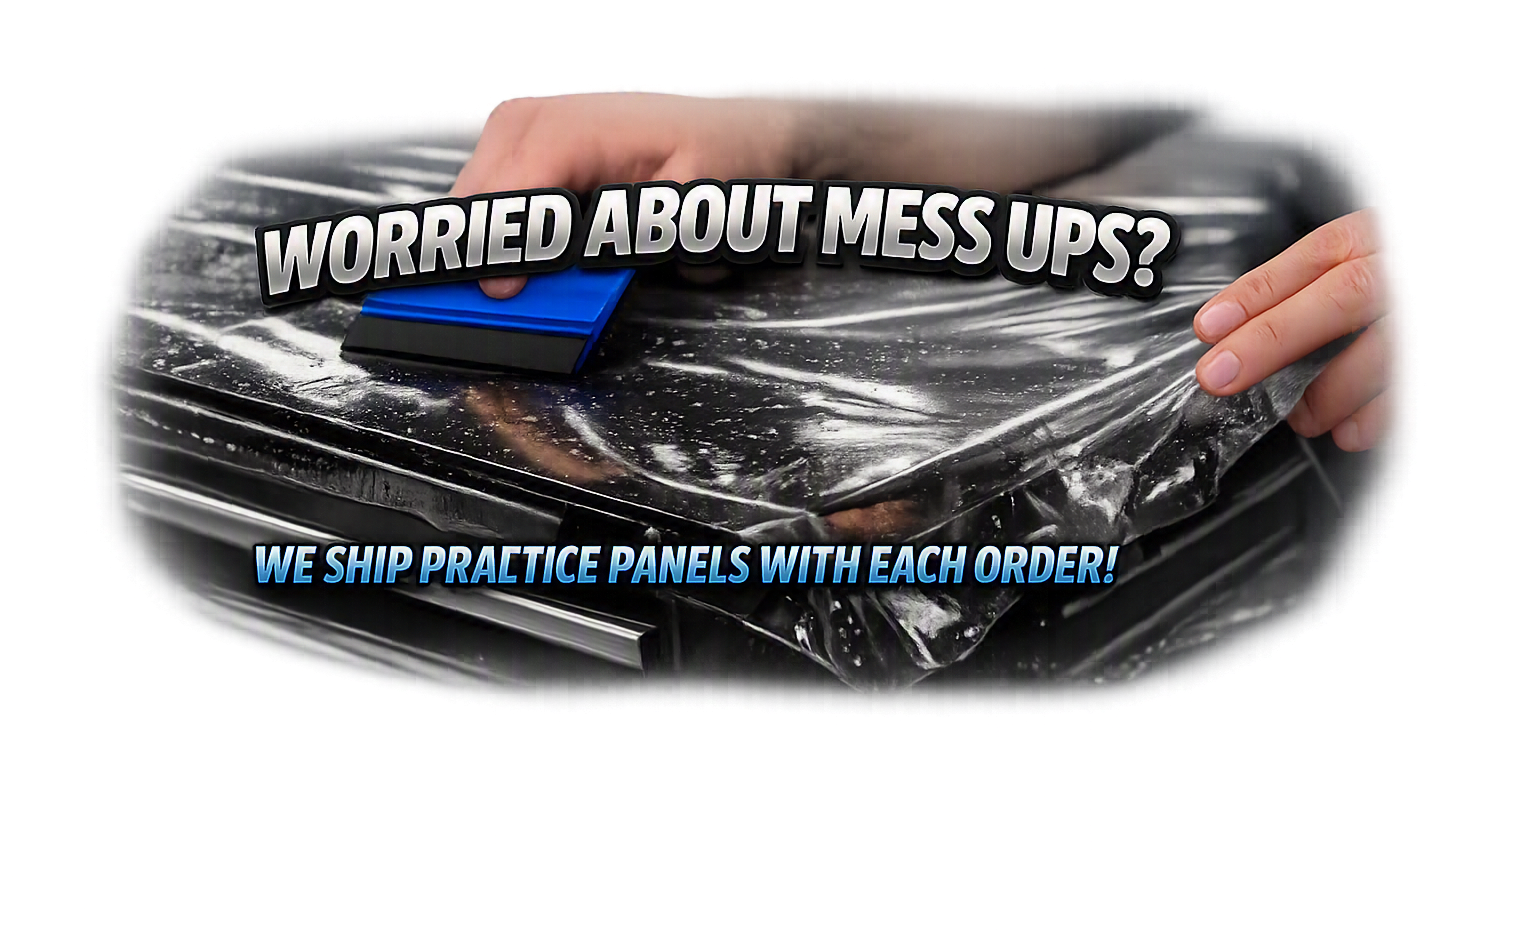
We understand that peeling the liner off your first piece of PPF can feel a little intimidating. That's why we include practice panels with every order so you can get comfortable with the material before installing the pieces made for your toolbox.
Patience, preparation, cleanliness, and following the installation process are much more important than prior PPF experience. You don't need to be a professional installer—you just need to take your time and follow the process.
-
Your Bulldog Protection Films kit is built around making DIY installation as organized and approachable as possible.
Depending on the kit you select, your order includes the precision-cut PPF panels for the intended toolbox surfaces along with the supporting items we provide to help you get started and stay on track.
That includes:
Precision-cut PPF for the selected toolbox surfaces
A panel labeling and layout template
Practice panels
A basic squeegee
A complimentary air release tool
Every qualifying Bulldog Protection Films DIY protection kit includes practice panels and one complimentary replacement panel for any installation mistake.
You can also choose to upgrade your installation setup with Bulldog Drool™ Installation Gel and the Bulldog premium Squeegee for greater control during the install.
The goal is simple: give you the film, the guidance, and the support to complete the installation with confidence.cription
-
Coverage depends on the kit and options you selected for your toolbox.
Our precision-cut patterns can be designed for major exposed surfaces such as:
Drawer faces
Drawer tops
Top rails
Toolbox sides
Use your supplied panel labeling and layout template to see exactly which pieces are included in your order and where each one installs.
-
At minimum, you should have:
Your Bulldog Protection Films pre-cut PPF
A squeegee — Bulldog premium Squeegee recommended for cleaner installs
Slip solution — Bulldog Drool™ Installation Gel recommended for easier, more controlled installs
Tack solution
Clean water
Spray bottles
Isopropyl alcohol for final surface preparation
Clean microfiber towels
Clean hands
A clean, well-lit installation area
Having everything ready before removing the liner makes the installation much easier.
-
Yes. You do not have to install the entire kit in one session.
In fact, first-time installers may find it easier to work through the toolbox one labeled panel at a time. Complete a manageable group of pieces, inspect your work, and continue when you're ready.
Keep unused PPF panels clean, protected, and stored flat in a safe location until you're ready to install them.
The supplied panel labeling and layout template makes it easy to stop and restart without losing track of where each piece belongs.
Work at your pace. One panel at a time is still The Bulldog Way.
-
Extremely clean.
The film will not hide contamination underneath it.
Pay particular attention to:
Corners
Drawer edges
Handles
Emblems
Seams
Crevices
Areas where wax or polish may accumulate
Complete your preparation with an appropriate isopropyl-alcohol surface wipe and a clean microfiber towel.
A few extra minutes spent cleaning can make a major difference in the finished installation.
-
Keep these four ideas in mind:
SLIP = MOVE
Use slip solution when you need the PPF to move and reposition.
BULLDOG DROOL™ = CONTROL
Use Bulldog Drool™ when you want a more controlled and forgiving installation experience.
TACK = GRIP
Use tack solution when you're ready to establish an anchor or secure an edge or corner.
BULLDOG premium SQUEEGEE = SET
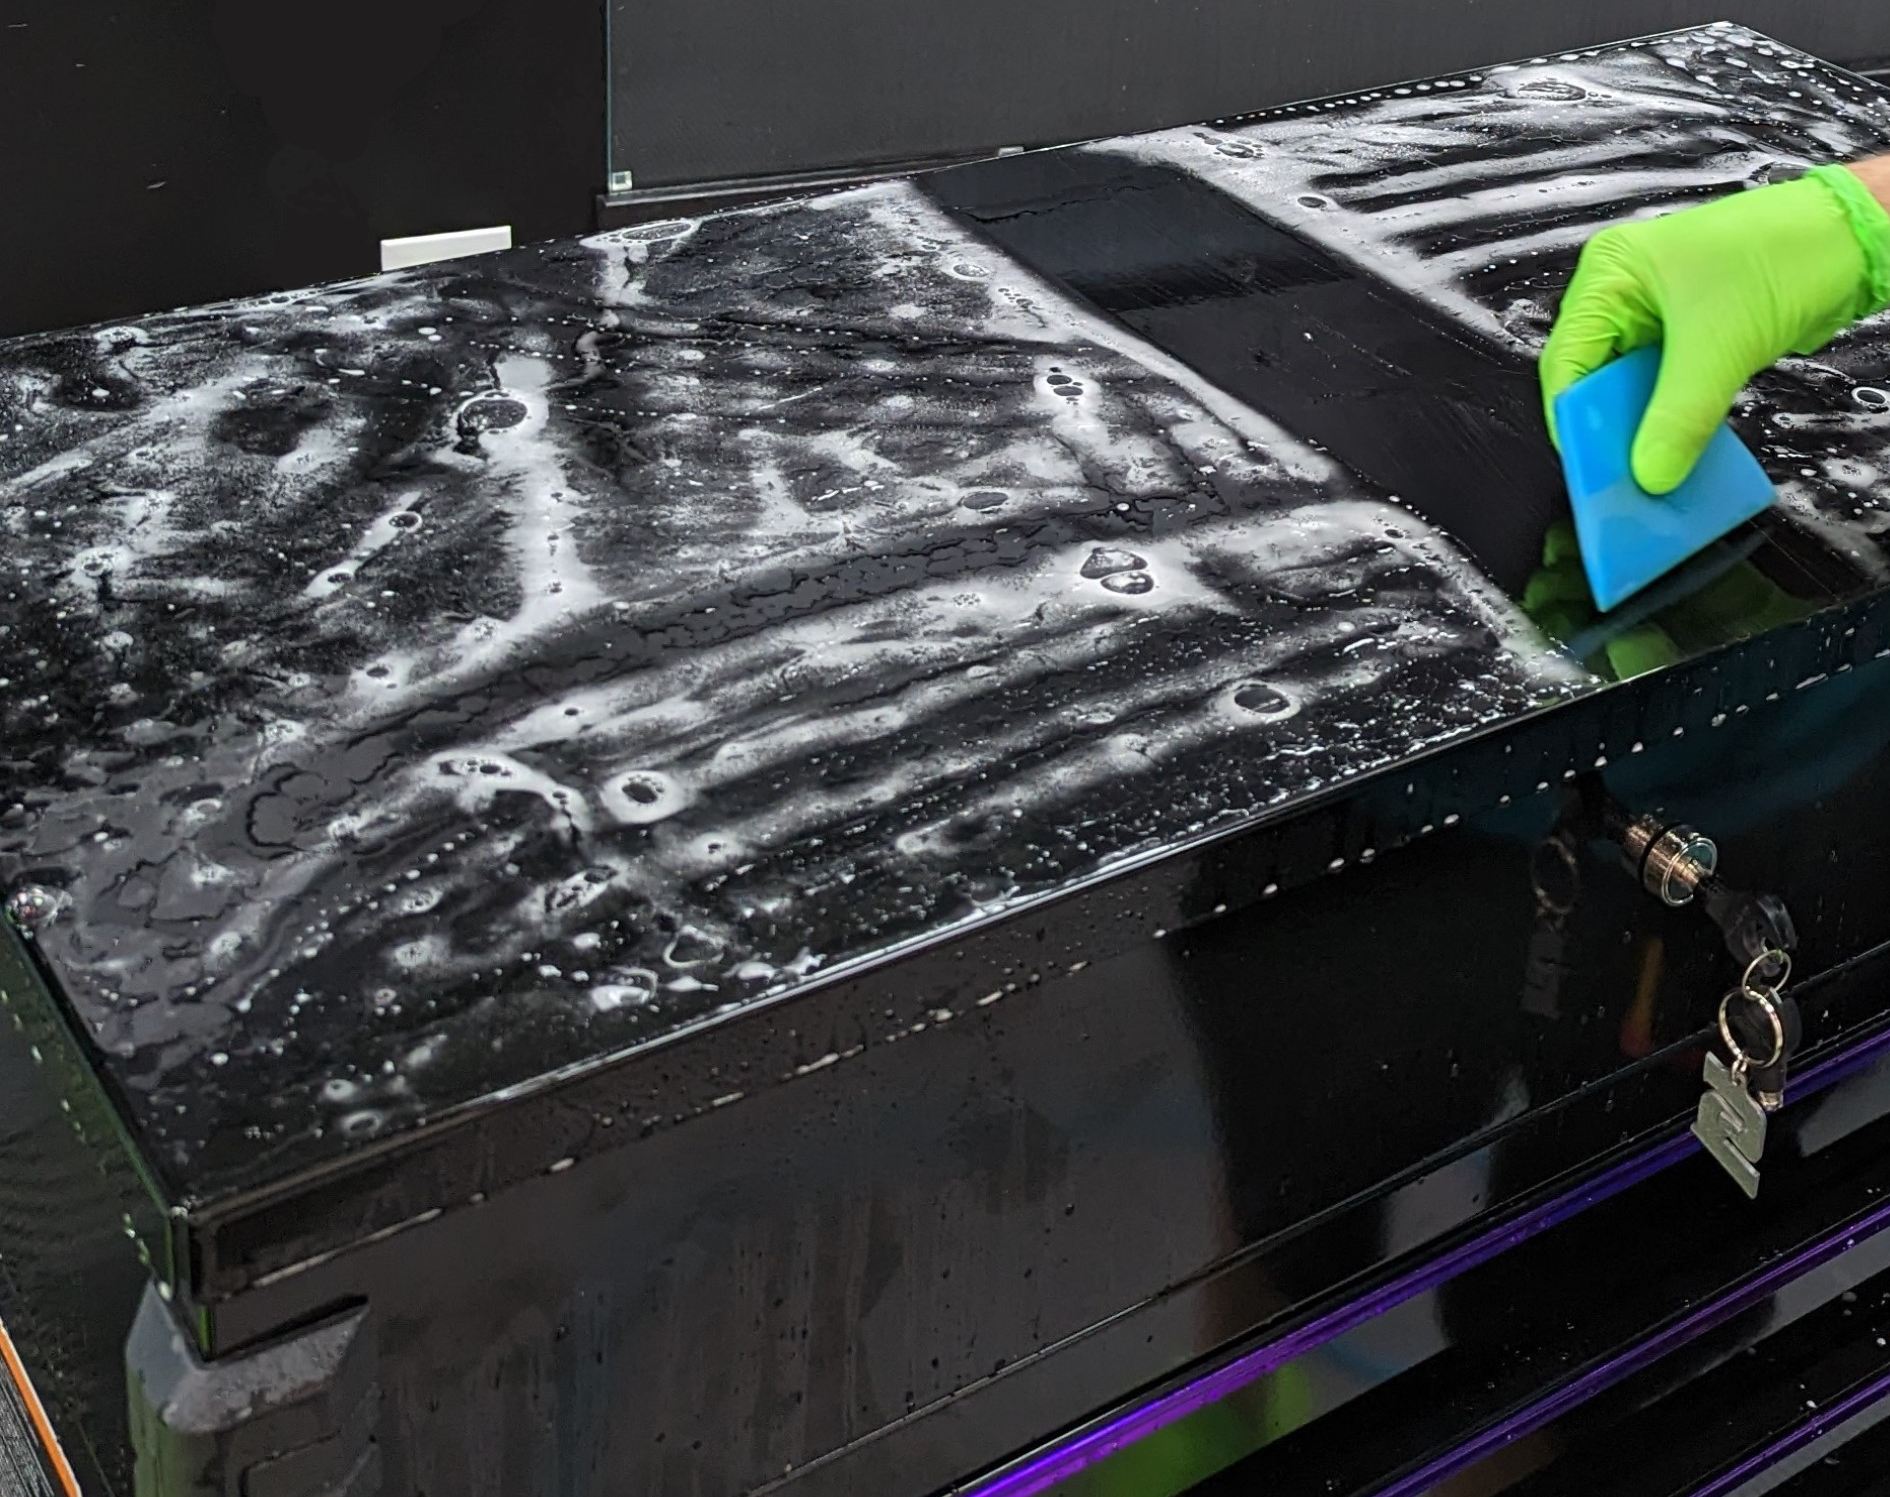
Use controlled, overlapping squeegee strokes to progressively remove installation solution and set the PPF into place.
-
That depends on the film you choose.
Gloss PPF is designed to protect your toolbox while allowing its original color and finish to remain visible. It adds a smooth, high-gloss protective layer without significantly changing the appearance of the surface underneath.
Matte PPF intentionally changes the appearance by transforming the existing color into a smooth, satin-matte finish. You keep the original color of your toolbox while giving it a more understated look—all while adding a durable sacrificial layer to help protect against everyday tool bumps, scratches, scuffs, and wear.
Keep in mind that PPF conforms closely to the surface beneath it. Existing texture, scratches, chips, dents, or other finish imperfections may remain visible after the film is installed.
-
They are precision-cut for the intended toolbox surfaces.
Our kits are designed so you are not starting with a bulk sheet of PPF and trying to create each panel yourself. The pieces are patterned around the specific areas of the toolbox, including drawer faces, drawer tops, top rails, toolbox sides, and applicable factory features.
Before removing the liner, use the supplied panel labeling and layout template to confirm which piece belongs where and verify the orientation on the toolbox.
The fit should come from correct panel selection and alignment—not from making the piece fit with unnecessary trimming or stretching.
-
Yes. PPF is designed with self-healing characteristics that can help light surface scratches and swirl-type marks become less visible when heat is applied appropriately.
This is different from correcting an installation issue underneath the film. Heat will not remove trapped dirt, fix incorrect alignment, or eliminate a large pocket of installation solution.
Self-healing helps with light surface marks after installation—it is not a substitute for proper installation technique.
-
It depends on the condition and adhesion of the decal or graphic underneath.
PPF can only perform as well as the surface it is bonded to. If a decal, stripe, or custom graphic is loose, lifting, cracked, deteriorated, or poorly adhered, covering it with PPF may not produce a reliable result.
If the graphic is important to preserve or you're unsure about its condition, contact us before installation so we can help you evaluate the best approach.
-
Once the film has fully settled, clean it using gentle methods appropriate for PPF.
Use clean microfiber towels and products that are safe for paint protection film. Avoid aggressive scrubbing, harsh chemicals, abrasive compounds, and repeatedly catching or lifting exposed film edges while cleaning.
The goal is to keep both the PPF and the toolbox underneath it looking clean without unnecessarily stressing the film.
-
PPF is designed to protect the condition of the surface underneath it—it does not repair existing damage.
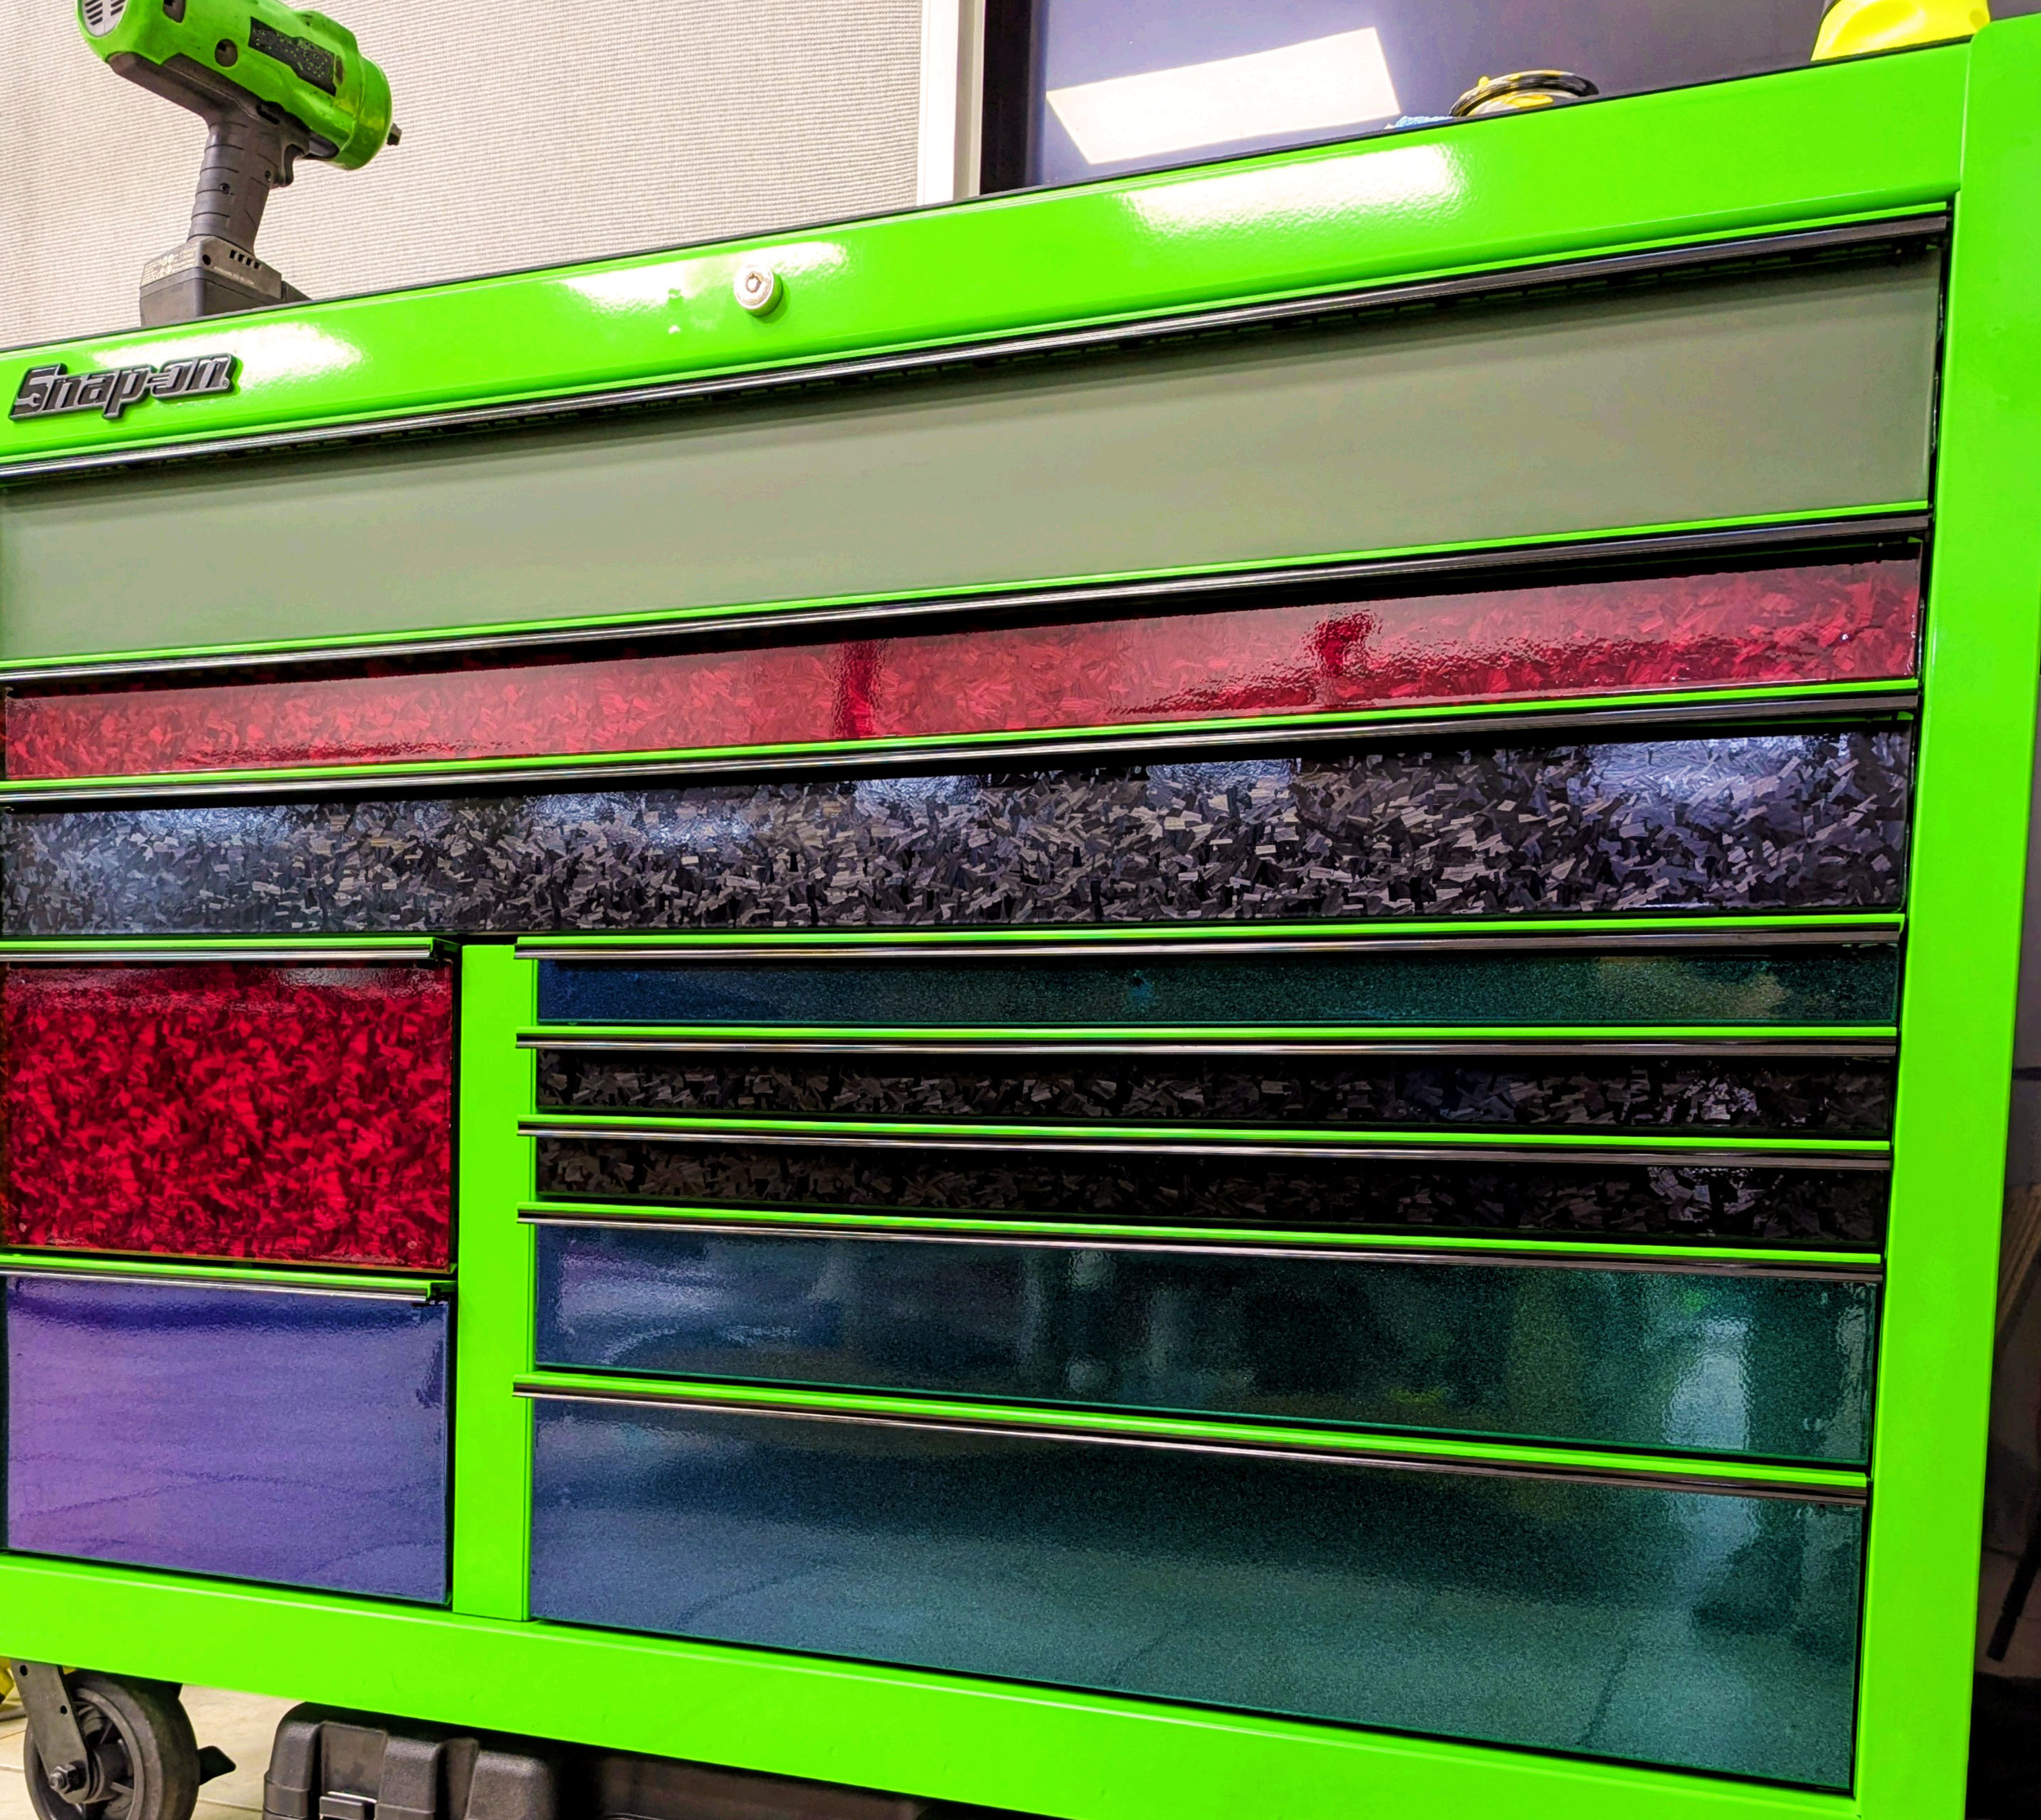
Scratches, chips, dents, paint defects, staining, and other imperfections may remain visible through clear protection film after installation. For toolboxes with noticeable cosmetic wear, colored protection film can be a great alternative. Rather than simply showing the existing finish through the film, colored PPF can help conceal many cosmetic imperfections while giving your toolbox a fresh, updated appearance and adding a durable layer of protection.
Keep in mind that colored PPF does not physically repair the surface. Deep scratches, dents, chips, or significant surface irregularities may still be noticeable through the film.
Before installation, we recommend closely inspecting and cleaning your toolbox so you understand the condition of the surface being covered.
Think of our clear PPF kits as protection for the finish you already have, while our colored PPF kits give you the opportunity to refresh its appearance while protecting it going forward.
-
Yes. PPF is a protective film rather than a permanent modification to the toolbox.
Proper removal technique matters, however. If you decide to remove or replace the film in the future, work carefully and follow appropriate PPF removal procedures rather than simply pulling it off as quickly as possible.
The condition and type of the underlying finish, its age, any previous repairs or refinishing, and how the film is removed can all affect the removal process.